Sunday, September 29, 2013

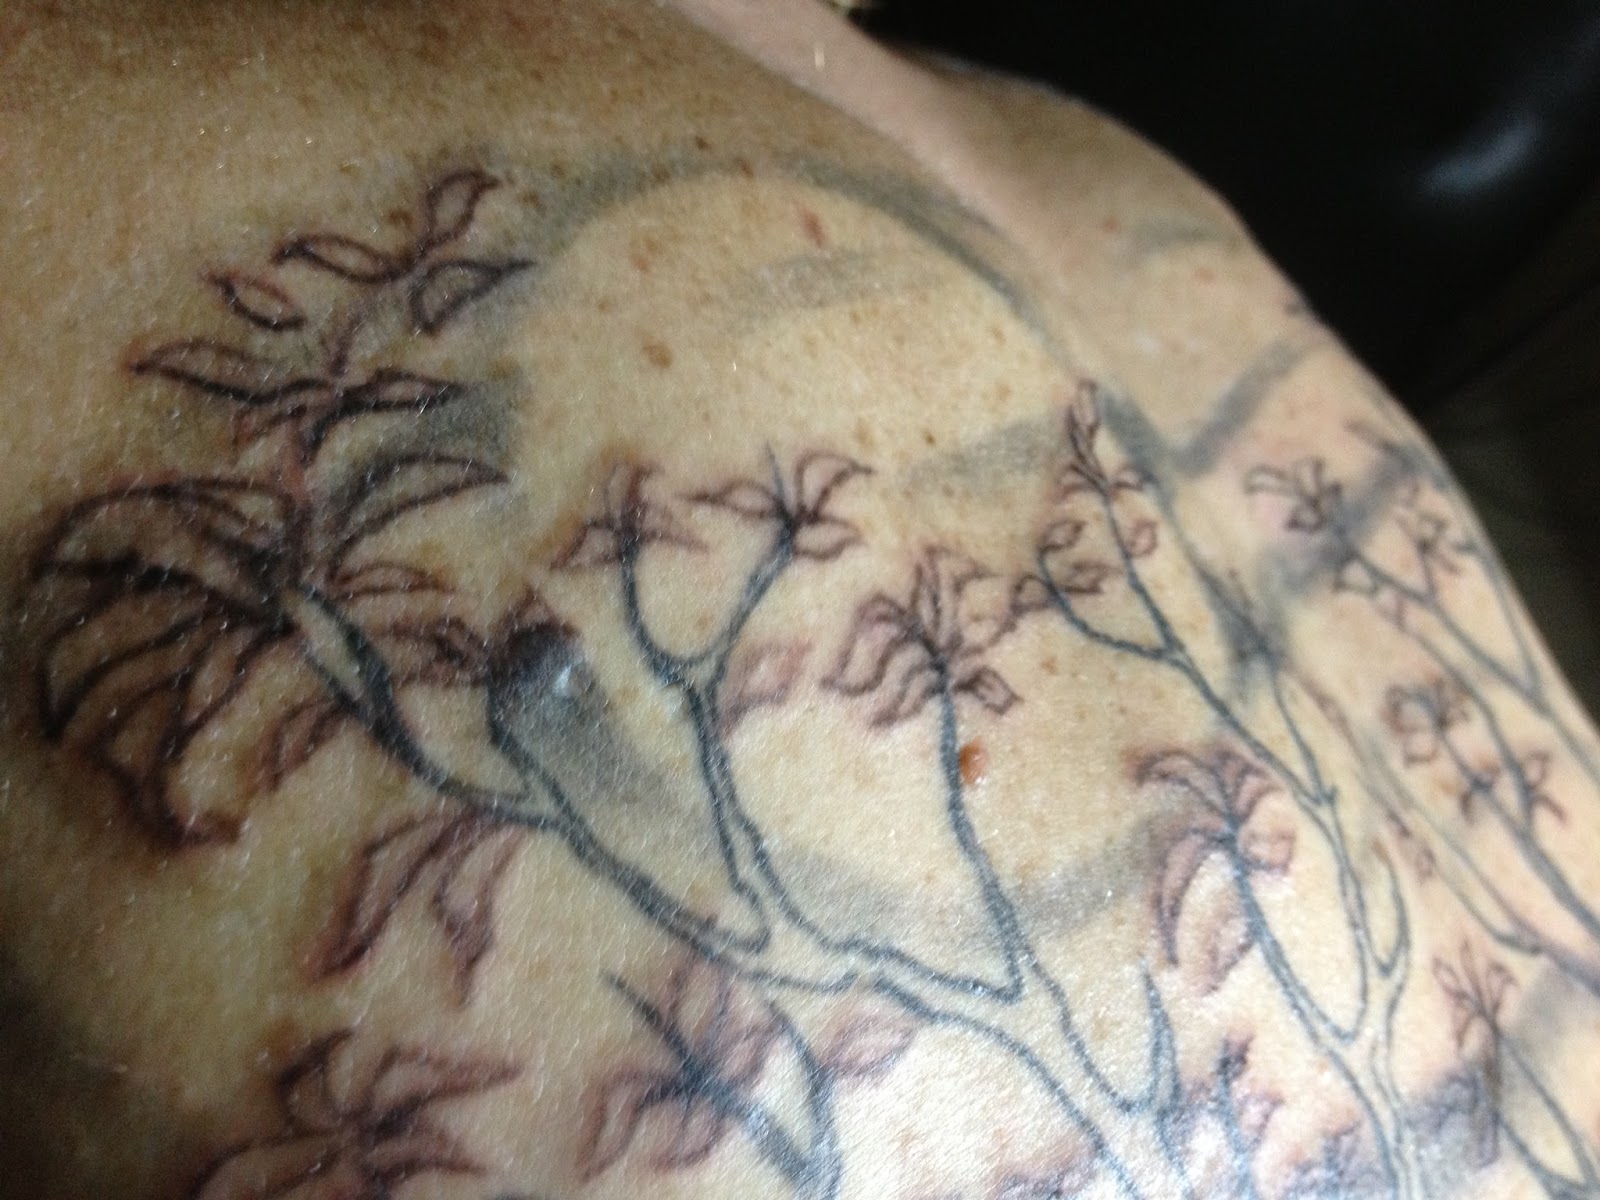
New Elemental Tattoo Flash ~Raw Power~

~Raw Power~


A new tattoo design...


Tuesday, September 24, 2013

PALOMA'S ANKH

So, yesterday it was my son Jeremie getting tattooed,
today it was his Mom, Paloma.

She has wanted an Ankh symbol to go around the 
Caduceus symbol tattoo she already has on her forearm
for years now. She wanted it to be black & white,  as 
sort of a backdrop to the existing colour tattoo.


This is the one she already has, the Caduceus symbol,
that she had done 6 years ago.


So I printed out a copy of a photo of her forearm
and did a drawing of what I thought it might look like.

Paloma liked it.....alot!


I then drew it onto her with a grey marker.
This is NOT a tattoo yet, just my rough under-drawing.


Her the first grey lines are going in. The final look is soft and subdued,
so I am using no real dark blacks at all, mostly soft grey tones.


Here it is with all the preliminary lines and darkest shadows done.


Here it is with all the preliminary lines and darkest shadows done.


And now here it is after the first shading pass.


And here it is finally after the final shading pass, 
although I am planning to add white and fix a
couple of lines tomorrow.


Here it is finally after the final shading pass


Here it is finally after the final shading pass


Monday, September 23, 2013

My Son Jeremie's SoundWave Backpiece


My son Jeremie said he wanted me to do a tattoo for him years ago...
And I finally got the opportunity just the other day.

Jeremie wanted something for his back
that would incorporate a sound wave design from 
a sound editing software interface, blending in with 
my own unique splash designs.


So I started messing around with this idea....


And as I cleaned it up Jeremie said he really liked it.


So I reworked it and made the sound wave look 
more like the actual thing, whereas in the first one I had 
stylized it quite a bit. Then I traced it onto a stencil...


And put it on Jer's back..


Soon the black ink lines were going in sweetly...


After day one, and about 5 hours, we had all the black and grey
line and shading work done...


And by the end of day two and another 6 hours, we had the finished product


After the whole process was said and done
it looked pretty close to the original! 


Here is the comparison between the photoshopped version I initially
put together to show what Jeremie what it would look like.

I made some conscious decisions to change/add certain things
her and there, but I am happy with how much it got to the look 
of the original drawing...


Jermie and I had an incredible time the last few days, 
chilling out and spending some seriously quality time together.


Jeremie's new backpiece goes very well colour-wise 
and stylistically with both of his shoulder tattoos.


Friday, September 6, 2013

Elemental Tattoos Emerging....


tentative signage...


...and more tentative signage. Ought to come in handy for something. 
Great freestyle lettering practice...!


I often forget this tattoo on my right arm is here, 
and seeing this photo for the first time was sweet. 
I rarely see my tattoo this clearly from certain angles.


No I wasn't tired it's just one of those photos,
timing is everything...


Close-up of Nicole's rose cover-up...


Elemental Magic Tattoos Re-Emerging~!

Here are a few photos of my most recent and not so recent works as well. Some are pieces that I may have posted earlier versions of long ago, so in some cases it is a long overdue final version of an earlier piece.


Bruce's left shoulder is a cover up of a fairly faded and 
very old earlier tattoo, similar to his right shoulder clover-up. Subtle.
Before and after colour.....


The pure black and grey was very sweet. Black went in very nicely.


Nicole's Rose cover up came out so-o-o sweetly!


Working on Nicole's gorgeous roses, on location in Seyward, B.C.


Crystal's backpiece 'tree of life...'


Crystal's backpiece 'tree of life...' detail


checking out her new back.....


Initial line work on Bruce's left shoulder 'cover-up'


Drawing, old tattoo, and first line work on Bruce's right shoulder 'cover-up'


Initial line work on Bruce's right shoulder 'cover-up'


Final black and grey on Bruce's right shoulder 
cover up, before any colour, Rocky Mountain Road Glide
(the blueish tint in the center area is the old faded tattoo being covered up)


Final glorious full colour on Bruce's Rocky Mountain Road Glide


Further progress on Crystals tree...


Earlier work in progress on Crystal's tree...


Nicole's roses, before I added the final darker red and blue.


The finishing touches on Jesse's Reaper

This was how Jesse's Reaper back piece tattoo looked when I was finished the last session.

Wednesday, December 19, 2012

Riley's Traditional Clay Smith Cams Tattoo....


 Traditional 'Clay Smith Cams' 
Woodpeckk Tattoo for my friend Riley,
right shoulder.

Friday, July 20, 2012

Ellery and Arlyn's Bee Tattoos 'The Whole Process'

Ellery and Arlyn recently posted the following photos on their own personal blog,
and Ellery gave me the go ahead to repost them here.  This is a wonderful
pictorial essay of how their tattoos came to be, from the very first idea,
to the final delicate product, Art in the flesh....

Here is Ellery's explanation of how he and Arlyn ended up 
deciding to get matching bee tattoos for their wedding....


"We have this weird thing with bees.
A few years ago I read all these articles about the declining honey 
bee population and it freaked me out. On top of everything else, 
Einstein was quoted as saying that when the last bee dies, 
we have 4 years of life left! (Don't get too freaked out... 
this may just be a rumored quote... I checked www.snopes.com)

With yet another thing to keep me awake at 3:00 am, 
I decided to do whatever I could to help stop the declining bee populations
 - by this I mean turning down plastic bags at Safeway and 
making a loud statement to the cashier that I was 
"DOING IT FOR THE BEES!"

Somehow this lead to Arlyn and I buying things that had bees on it.

I bought her a bee ring... 
bee shirts... 
commissioned bee art..."


Bee Jewelry


Bee Art


Bee Artist, Joseph Gilland, 
chatting in his beautiful garden, before getting down to business


Some of Joseph's Art, one of his earliest paintings, 
displayed on the fireplace in the tattoo studio.


Another of Joseph's paintings, this is an elaborated 
version of my 'Buddha Skull' design that I designed for 
my chest and ended up doing for my friend Dee, on her calf.


Dee's Buddha Skull Tattoo


This is the design that Ellery and Arlyn finally decided on


I printed out several to have extras just in case.


I cut one bee out and traced it over special stencil paper 
designed for applying images on the skin for tattooing.


Applying the stencil.
 Arlyn wanted her bee to sit just below the crook of her arm,  on a slight angle, 
and appear to be headed towards the beautiful lotus tattoo on her wrist...


We made sure Arlyn liked the placement 100%


Tattoo machines at the ready...


And off we go....

I used three different densities of black ink for lining and shading,
diluted with witch hazel for the bee tats. 

One 100% black ink, 
one 50% ink, 50% water, 
and one 10% ink, 90% water.


I started on the front let leg of the bee, then the head, using a fine 3 
liner needle and varying the use of pure black and diluted grey inks.


Very detailed, demanding work, I had to ask Arlyn
to hold her breath from time to time.


But for the most part we chatted away and it went 
very, very smoothly, taking only about 90 minutes,
start to finish. Arlyn reported that it was almost pain-free, 
she didn't suffer needlessly...


And here we have MY first bee tattoo. I'd like to try 
doing a wide variety of bugs and critters. 
I wanted to be a naturalist artist when I was a young boy, 
discovering rare animals and doing perfect drawings of them..
It's different, but this is even cooler...


Ellery's stencil is ready to go. 
Ellery's is on his left wrist.


When I did Ellery's bee, I benefited greatly from the 
experience of the first bee. I followed the exact same procedure, 
starting on the legs first, and working across the bee the same way,
only this one only took 50 minutes start to finish!


When my own wrist was tattooed by Autumn Skye, 
it honestly hurt like hell. But Ellery sat quietly smiling 
and said it didn't hurt at all. Amazing.


The wrist is nice because it is easier to move around than some parts of the body.


And here's Ellery's finished bee tattoo.


And here they both are together. Total elapsed time under 
the tattoo machine, 2 hours and 40 minutes.